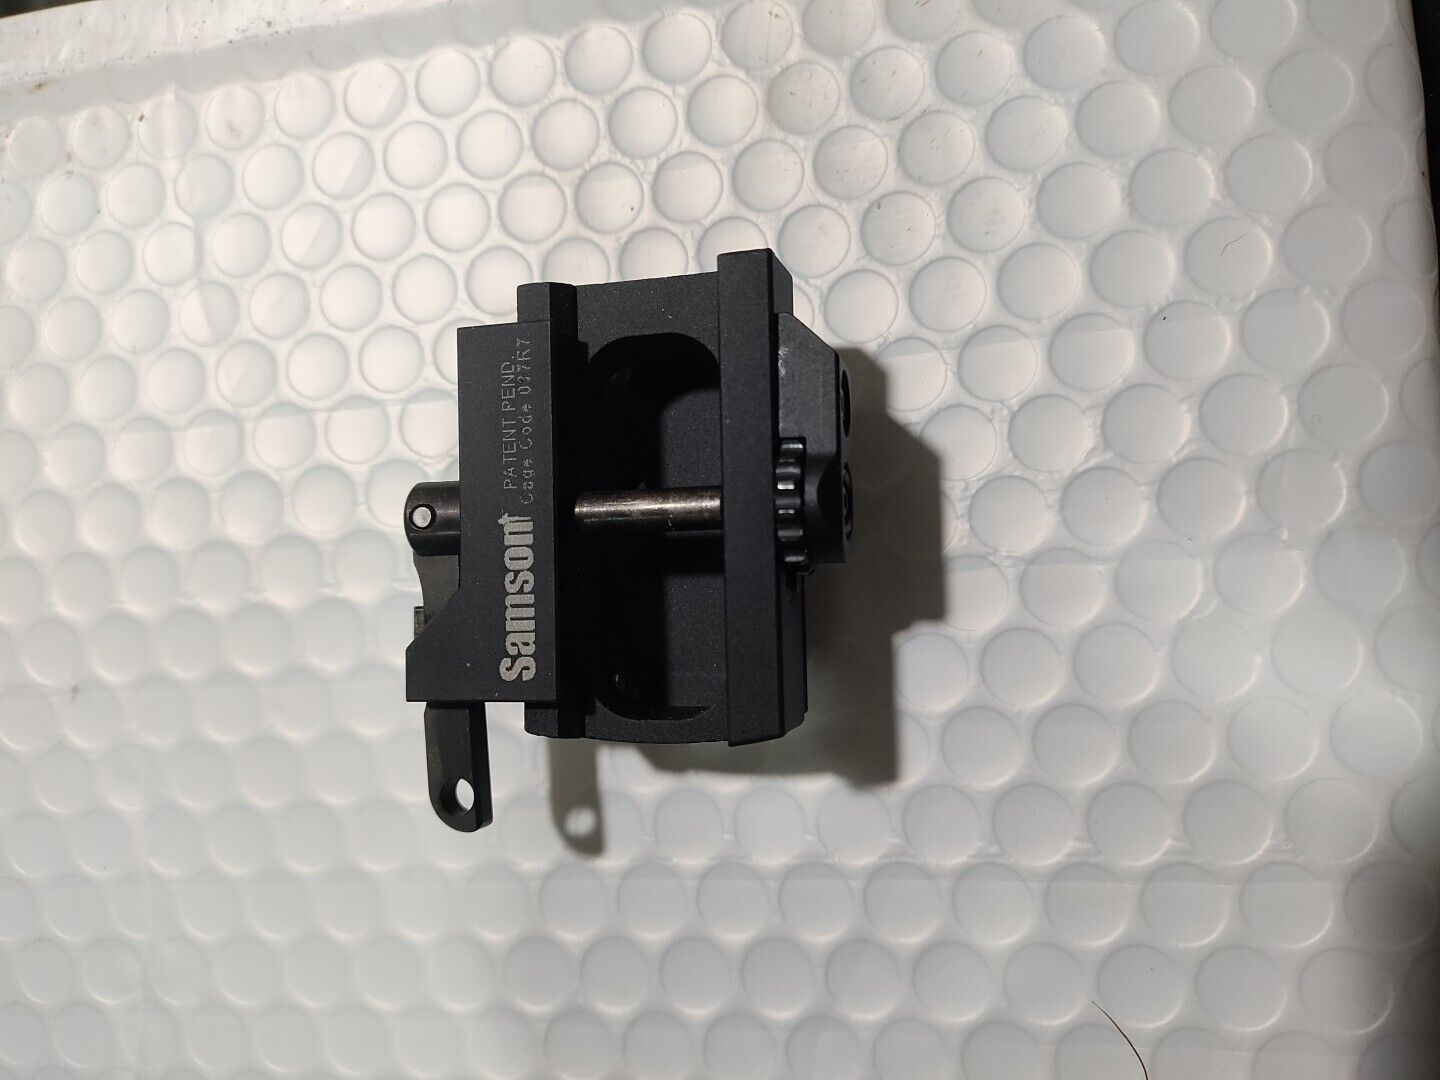
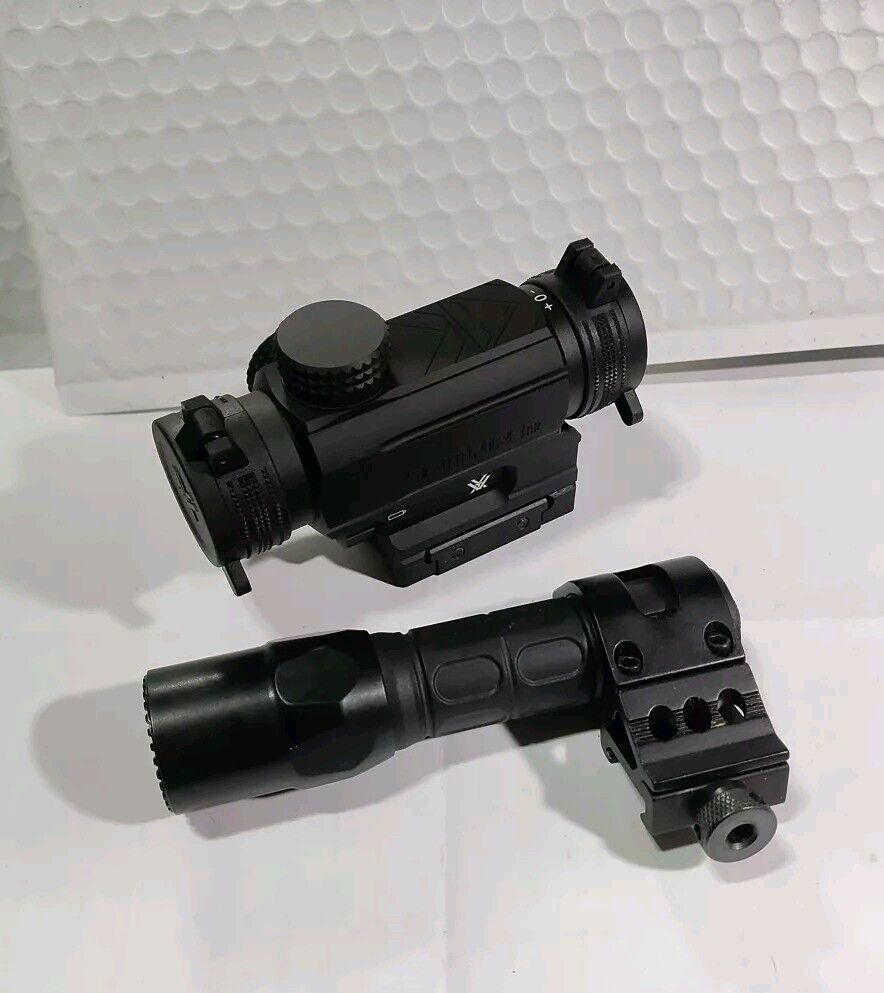
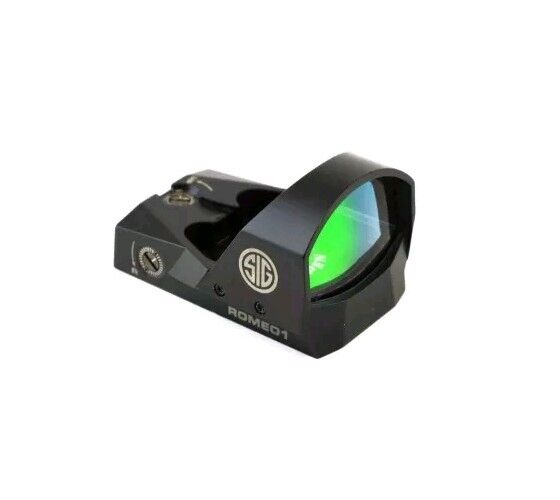
Comes with low profile 1913 rail mount. RMR Pattern red dot sight.
MMRDT Features:
Limited lifetime warranty
3 MOA Dot
Motion activated “Shake Awake” feature with 2-minute automatic shut off
10 Brightness settings
Night vision compatible setting
Aircraft grade anodized aluminum body
Commonly available CR2032 Battery
Battery life of 50,000 hours on the mid (5th) setting.
Low profile 1913 Picatinny rail mount
Common pattern interchangeable mounting base
Auxiliary rear sight
Protective rubber cover
-Material: Aluminum
Battery Installation
To install or replace the battery use the provided TORX wrench (Size T10) and remove the two screws located on the top of the MMRDT sight. With both screws removed carefully separate the sight from the base to gain access to the battery compartment on the bottom of the MMRDT. Install the battery with the markings facing out. Once the battery is installed, reassemble, and screw the sight and base together. Both screws should be snug. Use caution to not overtighten screws, as this may damage the sight.
Mounting
SAFETY NOTE: Before installing the MMRDT make sure your firearm is unloaded and safe to handle. Follow your firearm manufacture’s manual and safety instructions.
To attach the MMRDT sight to a firearm loosen the screw on the right side of the sight base to open the mounting clamp. With the clamp open attach the sight to any standard picatinny rail making sure the mounting lug is seated in a picatinny slot. Check that the mount is fully seated and that both sides of the base hook around the edges of the rail. With the sight properly seated tighten down the clamp until snug or to a recommended torque of no more than 30 Inch lbs.
The MMRDT sight is compatible with several commonly available aftermarket mounting bases that can replace the existing factory base. To replace the factory base, remove the two screws located on the top of the MMRDT sight. Mount any aftermarket sight base using the manufacturer’s instructions.
Power and Brightness Adjustment
The MMRDT is controlled by the + and – buttons located on the left side of the sight.
Turn on the sight by pressing the + button. Once turned on the MMRDT features an automatic shutoff if the sight is left motionless for 2 minutes. Once the automatic shutoff has been activated the sight will power back to the last used intensity setting once motion is detected. To deactivate the automatic motion settings manually turn off the sight press and hold the – button for 3 seconds.
The MMRDT features 10 Brightness intensity settings. Increase the intensity by tapping the + button and decrease the intensity by tapping the – setting.
The MMRDT sight features a night vision compatible intensity setting in addition to the standard 10 visible settings. The lowest intensity setting (Below the standard 10) is night vision compatible. Note that these settings cannot be easily seen with the naked eye.
Sight Adjustment
Adjust the MMRDT sight by inserting the provided flathead screwdriver into the slots labeled UP (Elevation) and R (Windage). The markings on the sight indicate the adjustment that will be made to the Point Of Impact (POI). The elevation adjustment is located on the top of the MMRDT sight, turning the screw right will adjust the POI up and turning the screw left will adjust the POI down. The Windage adjustment is located on the right side of the MMRDT sight, turning the screw to the right will adjust the POI to the right and turning the screw to the left will adjust the POI to the left.
Cleaning
To clean the MMRDT sight blow off any dust or debris from the lens and wipe the lens clean with the provide cleaning cloth. Only clean the lens with an appropriate lens cloth and multi coated specific cleaning fluid if needed. Failure to clean the lens properly can lead to the lens being scratched or damaged.


